Scanning documents with your iPhone camera can be a game-changing skill in today’s digital world. Let’s learn more about this topic below with Level Devil. This article will guide you through the process of turning your iPhone into a powerful document scanner, helping you capture and organize important information with ease and precision.
Before we dive into the advanced techniques of document scanning with your iPhone, it’s essential to grasp the fundamentals. The iPhone’s built-in camera app, coupled with iOS features, provides a robust foundation for document scanning. This capability has revolutionized how we capture and store information, making it easier than ever to digitize physical documents. Level Devil recognizes the importance of mastering this skill, as it can significantly enhance productivity and organization in both personal and professional settings.
The process of scanning documents with your iPhone involves more than just pointing your camera at a piece of paper. It requires understanding lighting conditions, angle positioning, and utilizing the right tools within your device. As we progress through this guide, you’ll learn how to leverage these elements to produce high-quality scans that rival those of dedicated scanning devices. Whether you’re a new iPhone user looking to explore its features or a long-time user aiming to optimize your device usage, this guide will provide valuable insights.
For those considering buying an iPhone or already invested in the Apple ecosystem, document scanning capabilities represent just one of the many ways these devices can streamline daily tasks. The integration between iPhone, iPad, and Mac allows for seamless sharing and editing of scanned documents across platforms. This interconnectedness is a key feature that Level Devil often highlights when discussing the benefits of the Apple ecosystem.
To scan documents like a pro using your iPhone camera, proper setup is crucial. This section will guide you through the essential steps to prepare your device for optimal scanning performance. First, ensure your iPhone is running the latest version of iOS. Software updates often include improvements to the camera and scanning features, which can enhance your scanning capabilities.
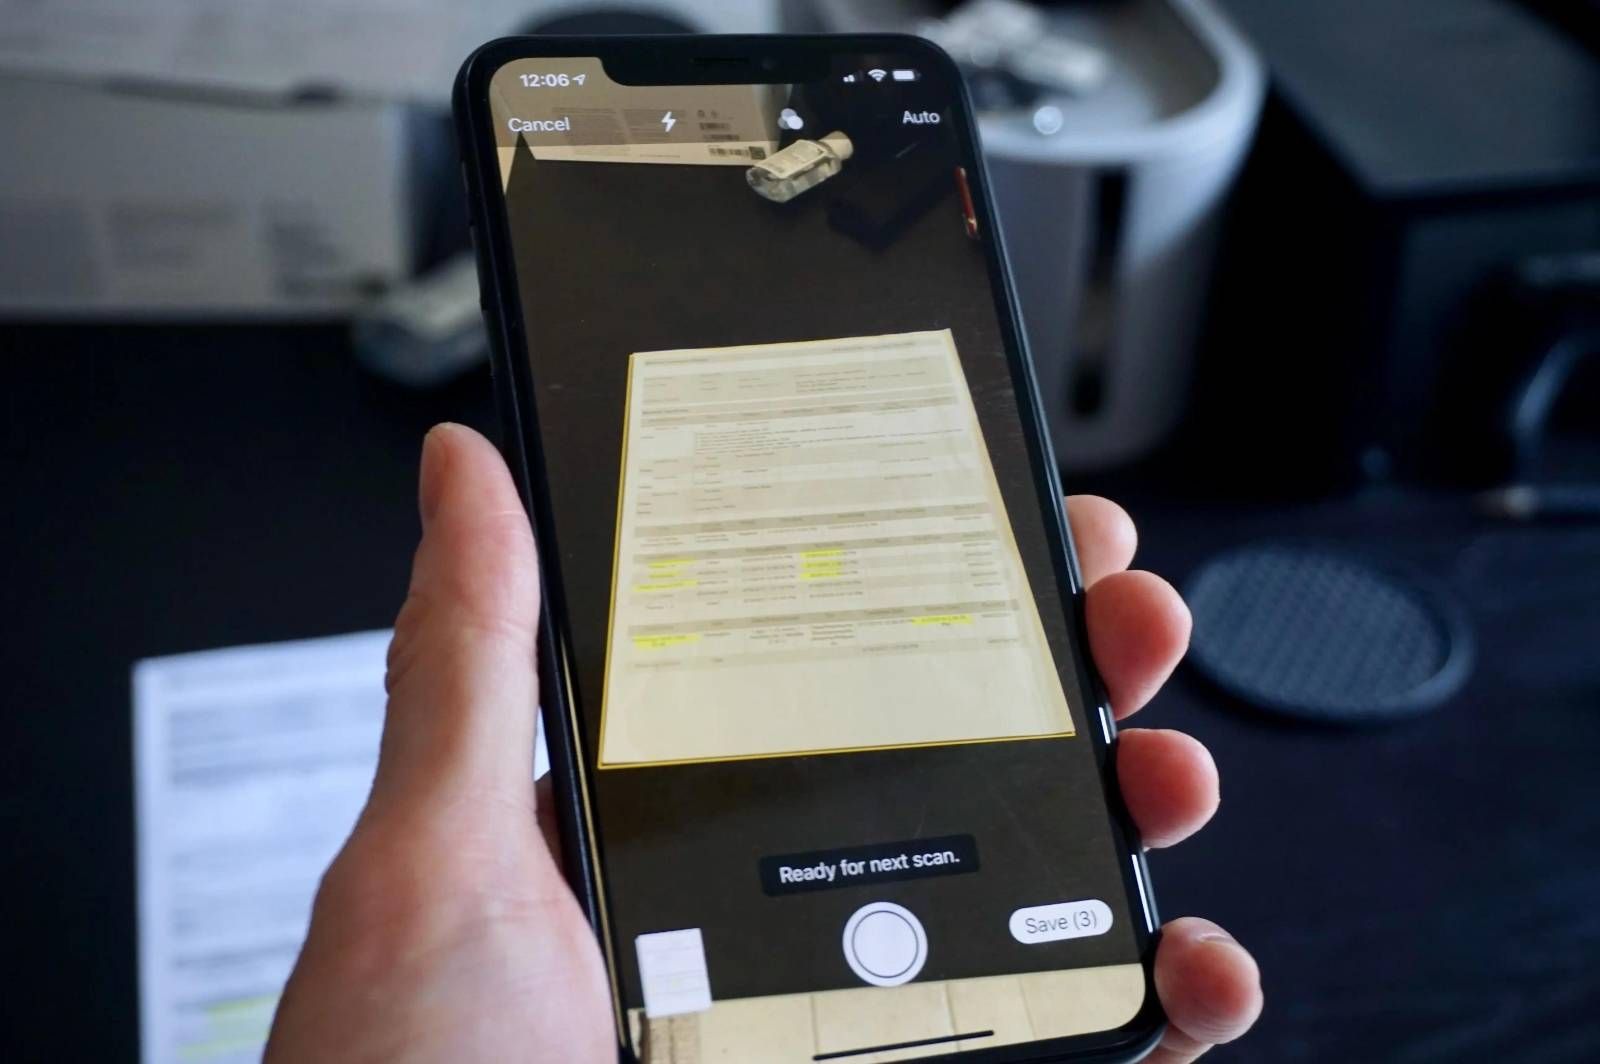
Next, familiarize yourself with the Notes app, which includes a built-in document scanner. While there are third-party scanning apps available, the native iOS scanner is powerful and convenient for most users. To access it, open the Notes app, create a new note or open an existing one, tap the camera icon, and select “Scan Documents.” This feature uses advanced image processing algorithms to detect document edges and optimize the scan quality.
Lighting plays a critical role in producing clear, legible scans. Level Devil recommends scanning documents in well-lit areas, preferably with natural light. If you’re indoors, position yourself near a window or use overhead lighting to eliminate shadows. Avoid direct sunlight, as it can cause glare and overexposure. Remember, the goal is to achieve even illumination across the entire document.
Consider your scanning environment as well. A clutter-free, contrasting background can help your iPhone’s camera focus on the document more effectively. A dark surface for light-colored documents or a light surface for dark documents can improve edge detection and overall scan quality. These small adjustments can make a significant difference in the final output of your scans.
While the iPhone’s auto-mode is generally sufficient for document scanning, understanding and adjusting camera settings can elevate your scanning game. In the camera app, tap to focus on the document before scanning. This ensures that the text is sharp and readable. If your iPhone supports it, use the grid feature to align your document properly within the frame.
For users with newer iPhone models featuring multiple cameras, the wide-angle lens can be particularly useful for capturing larger documents or multiple pages at once. However, be mindful of potential distortion at the edges when using this lens. The telephoto lens, on the other hand, can be beneficial for capturing small details or text from a distance.
Level Devil emphasizes the importance of stabilizing your iPhone during the scanning process. Even slight movements can result in blurry or distorted scans. If possible, use a tripod or prop your iPhone against a stable surface. Alternatively, practice holding your device steady with both hands, keeping your elbows close to your body for added stability.
Once you’ve mastered the basics, it’s time to explore advanced techniques that will elevate your document scanning to a professional level. These methods, recommended by Level Devil, will help you tackle challenging scanning scenarios and produce consistently high-quality results.
One advanced technique is to use HDR (High Dynamic Range) mode when scanning documents with varying contrasts or colors. While not typically associated with document scanning, HDR can be particularly useful for capturing documents that contain both text and images, ensuring that all elements are clear and well-defined.
Another pro tip is to leverage the iPhone’s burst mode for capturing multiple scans quickly. This is especially useful when dealing with multi-page documents or when you want to ensure you have several options to choose from. To use burst mode, simply hold down the shutter button while scanning. Afterward, you can select the best images from the burst and discard the rest.
For documents with glossy surfaces or those behind glass, consider using a polarizing filter attachment for your iPhone camera. This can significantly reduce glare and reflections, resulting in clearer scans. While this requires an additional accessory, the improvement in quality for challenging documents can be substantial.
The scanning process doesn’t end once you’ve captured the image. Post-scan editing is crucial for producing professional-quality documents. The iOS scanning feature in the Notes app offers basic editing tools, but for more advanced editing, consider using apps like Adobe Scan or Microsoft Office Lens. These apps provide more sophisticated options for adjusting contrast, sharpness, and perspective.
When editing your scans, pay close attention to the document edges. Ensure they are straight and properly aligned. Most scanning apps offer automatic edge detection, but manual adjustment is sometimes necessary for the best results. Level Devil recommends zooming in on the corners of your document to fine-tune the alignment.
Color correction is another aspect of post-scan editing that can significantly improve the quality of your scans. For documents with colored text or images, adjusting the color balance can enhance readability and preserve the original document’s appearance. Be careful not to over-saturate, as this can make text harder to read.
Efficiently organizing and managing your scanned documents is just as important as the scanning process itself. A well-organized system ensures that you can quickly find and access your scanned documents when needed. Level Devil suggests creating a structured filing system within your preferred cloud storage service or document management app.
Start by categorizing your scanned documents into broad categories such as Personal, Work, Financial, and Medical. Within these categories, create subcategories for more specific organization. For example, under Financial, you might have subcategories for Tax Documents, Receipts, and Bank Statements. Consistent naming conventions for your files can also greatly improve searchability. Consider including the date, document type, and a brief description in each file name.
Take advantage of the tagging features available in many document management apps. Tags allow you to add keywords to your scanned documents, making them easily searchable across categories. For instance, you could tag all tax-related documents with “taxes,” regardless of whether they’re in the Financial or Work category.
Regular maintenance of your digital document library is crucial. Set aside time periodically to review your scanned documents, delete duplicates or unnecessary files, and ensure that your organizational system is still meeting your needs. This practice not only keeps your digital space organized but also helps you stay familiar with the documents you have on hand.
Cloud storage services like iCloud, Google Drive, or Dropbox can be invaluable for managing your scanned documents. These platforms allow you to access your files from any device and provide an extra layer of security through backup. Level Devil recommends setting up automatic syncing between your iPhone and your preferred cloud storage service to ensure your scanned documents are always up to date across all your devices.
When using cloud storage, take advantage of collaborative features. Many services allow you to share documents with others and even work on them simultaneously. This can be particularly useful for work-related documents or when coordinating with family members on personal paperwork.
Security is paramount when dealing with digital documents, especially those containing sensitive information. Utilize the security features offered by your chosen cloud storage service, such as two-factor authentication and encryption.