Discovering new features on your iPhone can be exciting and enhance your user experience. Let’s learn more about this topic below with Level Devil. In this article, we’ll explore how to flip the camera while recording on your iPhone, a handy trick that can elevate your video-capturing skills.
The ability to switch between front and back cameras while recording video on an iPhone is a feature that many users find incredibly useful. This functionality allows for seamless transitions between selfie mode and capturing the world around you, all without interrupting your recording. Whether you’re a content creator, a casual user, or someone who loves to document life’s moments, mastering this feature can significantly enhance your video-making experience. The camera flip feature has evolved over various iPhone models and iOS versions, becoming more intuitive and user-friendly with each iteration. Level Devil recognizes the importance of staying up-to-date with these advancements to make the most of your device’s capabilities.
Before we delve into the step-by-step process of flipping the camera while recording, it’s essential to understand that this feature is available on most recent iPhone models running iOS 14 or later. If you’re using an older device or operating system, you may need to update your software or consider upgrading your device to access this functionality. Additionally, it’s worth noting that the exact steps might vary slightly depending on your specific iPhone model and iOS version. However, the general principle remains the same across devices, making it easy to adapt these instructions to your particular setup.
Now that we’ve covered the basics, let’s dive into the step-by-step process of flipping the camera while recording on your iPhone. This guide will help you seamlessly switch between front and back cameras without interrupting your video capture. Level Devil recommends practicing these steps a few times before attempting them during an important recording session to ensure smooth execution when it matters most.
1. Open the Camera app on your iPhone and switch to Video mode if it’s not already selected. You can do this by swiping left or right at the bottom of the screen until you reach the Video option.
2. Begin recording your video by tapping the red record button at the bottom of the screen (or on the side if you’re holding your phone in landscape orientation).
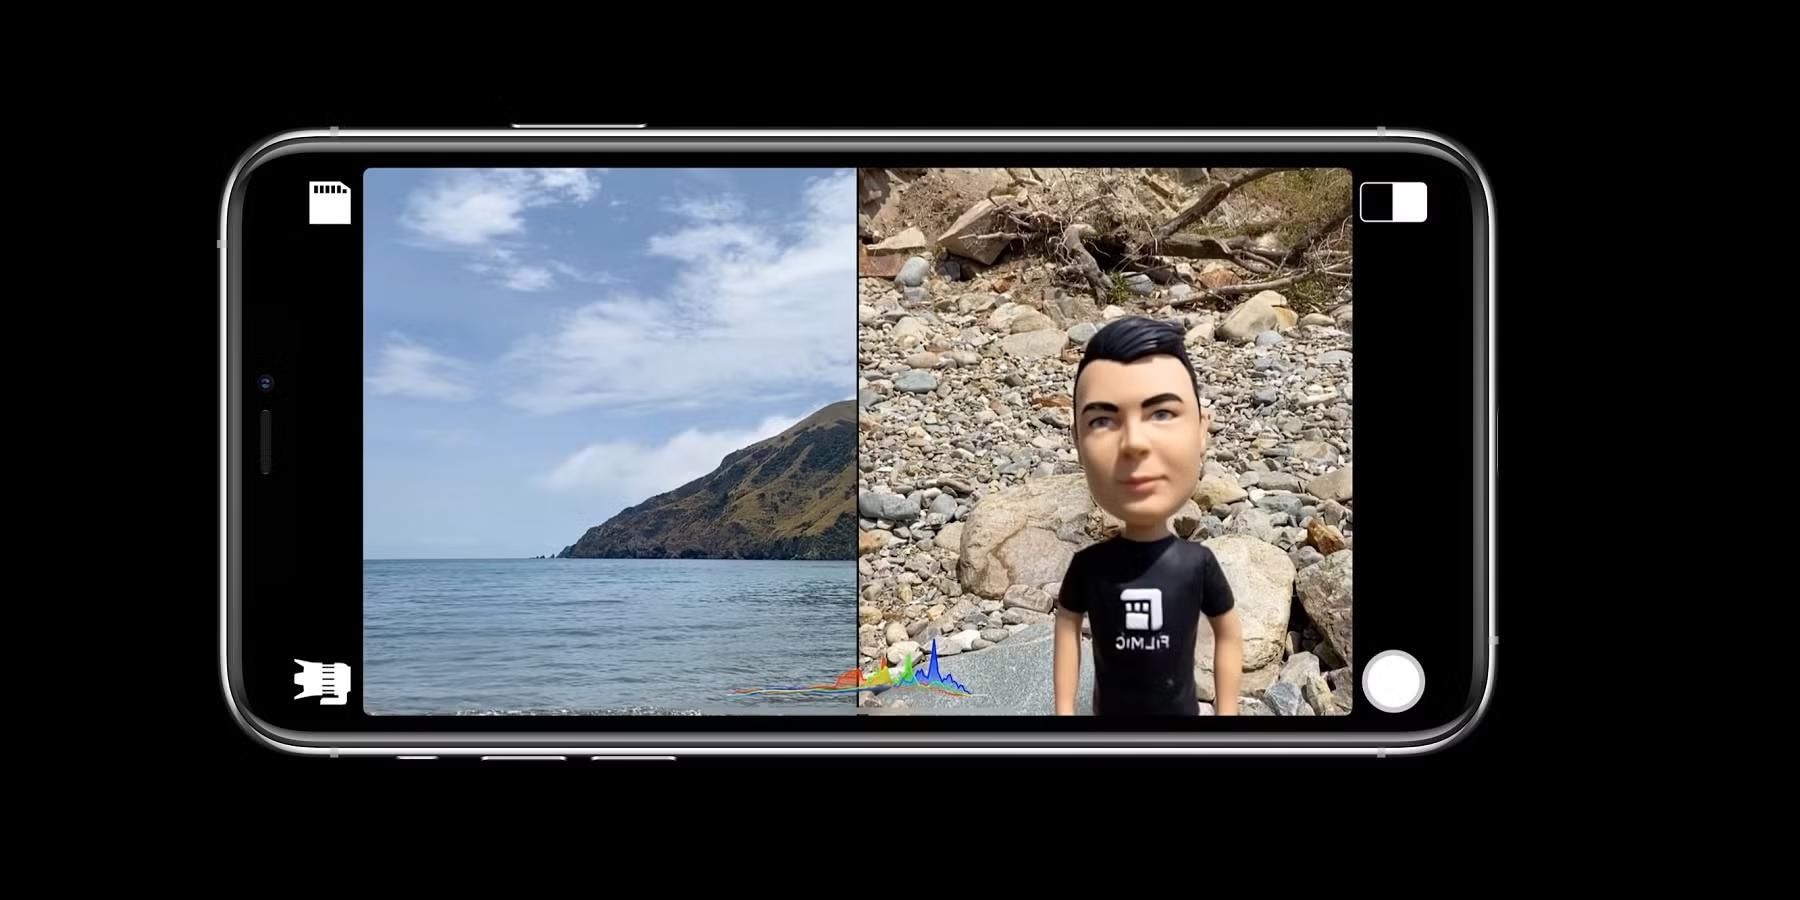
3. While the video is recording, look for the camera flip icon. This icon typically appears as two curved arrows forming a circle, located in the top-right corner of the screen (or top-left if you’re in landscape mode).
4. Tap the camera flip icon to switch between the front and back cameras. The transition should be smooth, and your video will continue recording without interruption.
5. You can flip the camera as many times as you want during your recording. Each flip will be captured in the final video, allowing for creative transitions between perspectives.
6. When you’re finished recording, tap the stop button (usually a square or red dot) to end the video capture.
It’s important to note that while flipping the camera, there might be a brief moment where the image adjusts to the new camera. This is normal and usually happens very quickly. Level Devil suggests practicing smooth movements and planning your flips in advance to minimize any potential disruption to your video flow.
Now that you’ve mastered the basics of flipping the camera while recording on your iPhone, let’s explore some advanced tips and tricks to take your video-making skills to the next level. These techniques will help you create more dynamic and engaging content, whether you’re vlogging, creating social media posts, or just capturing memories with friends and family.
QuickTake is a feature available on newer iPhone models that allows you to start recording a video quickly from photo mode. To use QuickTake, simply press and hold the shutter button in photo mode. While holding, you can swipe right to lock the recording, freeing up your finger. From here, you can use the camera flip technique we discussed earlier to switch between front and back cameras. This method is perfect for capturing spontaneous moments without fumbling through camera modes.
Level Devil recommends practicing this technique to become comfortable with the gesture, as it can be a game-changer for quick, reactive video capturing. The ability to start recording instantly and flip cameras on the fly can help you capture unexpected moments with ease and creativity.
While the native Camera app on iPhone offers great functionality, there are numerous third-party apps available that can provide even more control over your video recording experience. Some of these apps offer additional features such as manual exposure control, focus adjustments, and even more seamless camera transitions. Level Devil suggests exploring apps like FiLMiC Pro, ProCamera, or Moment for advanced video recording capabilities.
These apps often allow for customizable gestures or on-screen buttons for camera flipping, giving you more flexibility in how you switch between cameras during recording. Some even offer the ability to use multiple cameras simultaneously, opening up new creative possibilities for your videos.
The ability to flip between front and back cameras while recording opens up a world of creative possibilities for video production on your iPhone. Whether you’re a content creator, aspiring filmmaker, or just someone who loves to document life’s moments, understanding how to leverage this feature can significantly enhance your videos. Let’s explore some creative ways to use camera flipping in your video projects.
One popular use of camera flipping is in vlogging or creating personal video diaries. You can start with a selfie-style introduction using the front camera, then flip to the back camera to show your surroundings or what you’re talking about. This technique creates a more immersive experience for viewers, allowing them to see both you and your environment. Level Devil recommends practicing smooth transitions between cameras to maintain a professional look in your vlogs.
Another creative application is in storytelling or narrative videos. You can use camera flips to reveal plot twists or create dramatic effects. For example, you might start with a character looking at something off-screen (using the back camera), then flip to the front camera to reveal their reaction. This technique can add depth and interest to your narrative videos, making them more engaging for your audience.
For those interested in creating educational or tutorial content, camera flipping can be invaluable. You can switch between showing yourself explaining a concept (front camera) and demonstrating it (back camera). This is particularly useful for DIY tutorials, cooking videos, or any instructional content where seeing both the instructor and the subject matter is beneficial.
Music videos and dance performances can also benefit from creative camera flipping. You can use the front camera to capture close-ups of the performer and the back camera to show wider shots of the dance moves or surroundings. Timed correctly with the music, these transitions can create a dynamic and visually interesting video that complements the audio.
Level Devil encourages experimentation with different rhythms and timings for camera flips. Sometimes, rapid switches between cameras can create an energetic, fast-paced feel, while slower, more deliberate flips can build suspense or emphasize certain moments in your video.
For those creating travel content, camera flipping is an excellent way to capture both your reactions and the sights you’re experiencing. Start with a shot of the landscape or landmark using the back camera, then flip to the front camera to show your reaction or provide commentary. This technique helps viewers feel like they’re experiencing the journey alongside you.
In interview-style videos, camera flipping can be used to create a more dynamic conversation feel. You can switch between showing the interviewer asking questions and the interviewee responding, all without cutting the video. This creates a seamless, natural flow to the conversation and can be particularly effective for casual, on-the-go interviews.
For sports and action videos, camera flipping allows you to capture both the action and the reactions. You might use the back camera to film a skateboarding trick, then quickly flip to the front camera to capture the skater’s expression of triumph (or disappointment). This adds a personal touch to action-packed videos and helps viewers connect with the subject.
Level Devil also suggests using camera flips for transitions between scenes or topics in longer-form content. Instead of a hard cut or a fade, a camera flip can serve as a natural, visually interesting way to move from one segment of your video to another.