AirPods have revolutionized the way we listen to music and interact with our iPhones. These wireless earbuds offer seamless connectivity and impressive audio quality. Let’s learn more about this topic below with Level Devil as we explore how to connect AirPods to your iPhone quickly and easily. Whether you’re a new iPhone user or a long-time Apple enthusiast, this guide will help you make the most of your AirPods experience.
Connecting AirPods to your iPhone is a straightforward process that can enhance your audio experience significantly. As we delve into the world of Apple’s ecosystem, you’ll discover how these devices work together seamlessly, providing a level of convenience and functionality that’s hard to match. Whether you’re listening to music, taking calls, or using Siri, AirPods offer a versatile and user-friendly solution for all your audio needs.
In this comprehensive guide, we’ll walk you through the step-by-step process of connecting your AirPods to your iPhone. We’ll also explore some advanced features and tips to help you optimize your AirPods experience. By the end of this article, you’ll be well-equipped to make the most of your AirPods and iPhone combination, regardless of whether you’re a new user or a seasoned Apple enthusiast.
Before we dive into the connection process, it’s essential to ensure that both your iPhone and AirPods are ready for pairing. First, make sure your iPhone is running the latest version of iOS. To check for updates, go to Settings > General > Software Update. If an update is available, install it before proceeding.
Next, ensure that your AirPods are sufficiently charged. Place them in their charging case and check the LED light on the front of the case. If it’s amber, your AirPods are charging. If it’s green, they’re fully charged and ready to use. It’s a good idea to start with a full charge to avoid any interruptions during the setup process.
Now, let’s take a moment to familiarize ourselves with the AirPods case. On the back of the case, you’ll find a small button. This is the setup button, which we’ll use to initiate the pairing process. Make sure you can locate this button easily, as it plays a crucial role in connecting your AirPods to your iPhone.
It’s also worth noting that AirPods are designed to work seamlessly with other Apple devices. If you’re already signed in to iCloud on your iPhone, your AirPods will automatically be set up with any other Apple devices signed in to iCloud with the same Apple ID. This feature, known as automatic switching, allows you to easily transition between devices without manually reconnecting your AirPods each time.
Now that we’ve prepared our devices, let’s walk through the process of connecting your AirPods to your iPhone. The Level Devil approach makes this process quick and straightforward, ensuring you’ll be enjoying your wireless audio experience in no time.
1. Start by unlocking your iPhone and navigating to the Home screen. This ensures that your device is ready to detect and pair with your AirPods.
2. With your AirPods in their charging case, open the lid. Keep the AirPods inside the case for now, as this helps initiate the pairing process.
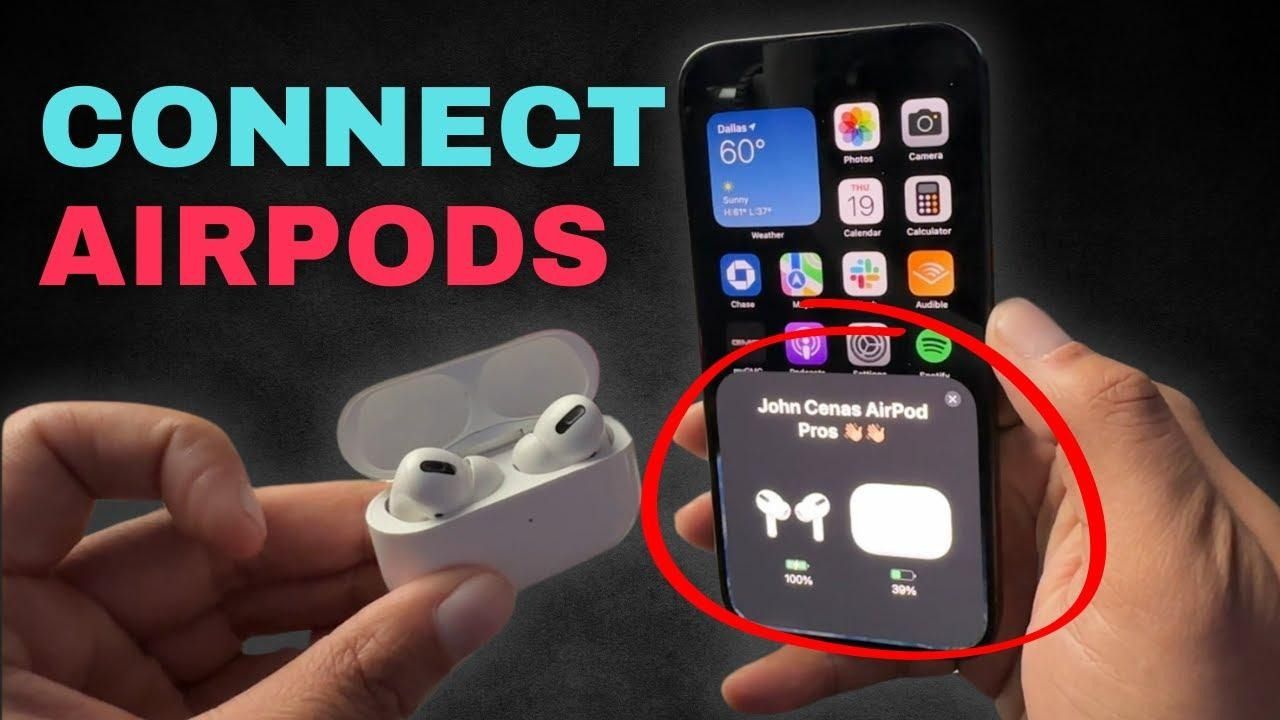
3. Hold the charging case with the open lid close to your iPhone. Within a few seconds, you should see an animation appear on your iPhone’s screen, showing an image of your AirPods.
4. If the animation doesn’t appear automatically, press and hold the setup button on the back of the AirPods case for a few seconds. You should see the status light on the front of the case start flashing white, indicating that the AirPods are in pairing mode.
5. Once the animation appears on your iPhone, tap the “Connect” button on the screen. This initiates the pairing process between your AirPods and iPhone.
6. If you have AirPods Pro or AirPods Max, you may be prompted to enable noise cancellation features. Follow the on-screen instructions to set up these additional features.
7. After a few moments, you’ll see a message confirming that your AirPods are connected. You can now remove them from the case and start using them with your iPhone.
8. To ensure that the connection is working properly, try playing some audio on your iPhone. You should hear the sound coming through your AirPods.
Now that your AirPods are connected to your iPhone, let’s explore some ways to optimize your experience and take full advantage of the features offered by these wireless earbuds. The Level Devil approach to optimization involves understanding and utilizing the various settings and capabilities of your AirPods.
One of the most powerful features of AirPods is the ability to customize their controls. You can assign different functions to the double-tap or press-and-hold gestures on each AirPod. To do this, follow these steps:
1. Open the Settings app on your iPhone.
2. Tap on “Bluetooth” and find your AirPods in the list of devices.
3. Tap the “i” icon next to your AirPods’ name.
4. Under the “Double-Tap on AirPod” or “Press and Hold AirPods” section, you can choose different actions for each AirPod. Options include activating Siri, play/pause, next track, previous track, or off.
By customizing these controls, you can tailor your AirPods’ functionality to your personal preferences, making it easier to control your audio without reaching for your iPhone.
Siri integration is one of the standout features of AirPods, allowing you to access Apple’s virtual assistant hands-free. To use Siri with your AirPods, simply say “Hey Siri” followed by your command. You can ask Siri to play music, make calls, send messages, get directions, and much more, all without touching your iPhone.
If you have older AirPods that don’t support “Hey Siri,” you can still access the virtual assistant by double-tapping on one of your AirPods (assuming you’ve set this as the double-tap action in your settings).
AirPods come with a feature called Automatic Ear Detection. This clever functionality pauses your audio when you remove an AirPod from your ear and resumes playback when you put it back in. To enable or disable this feature:
1. Go to Settings > Bluetooth on your iPhone.
2. Tap the “i” icon next to your AirPods.
3. Toggle the “Automatic Ear Detection” switch on or off.
This feature can be particularly useful when you need to quickly pause your audio to have a conversation or pay attention to your surroundings.
While connecting AirPods to your iPhone is usually a smooth process, you may occasionally encounter some issues. Let’s explore some common problems and their solutions using the Level Devil approach to troubleshooting.
If your AirPods aren’t connecting to your iPhone, try the following steps:
1. Ensure that Bluetooth is enabled on your iPhone. You can do this by going to Settings > Bluetooth or by swiping down from the top-right corner of your screen to access the Control Center and tapping the Bluetooth icon.
2. Make sure your AirPods are sufficiently charged. If the LED on the charging case is red, charge your AirPods for at least 15 minutes before trying to connect.
3. Try resetting your AirPods. To do this, place them in the charging case, close the lid, wait for about 30 seconds, then open the lid and try connecting again.